

I reorganized the storage space under my Project Table - as well as changed out the support leg to one more visually appealing...


...and I set about refinishing my dresser.

This turned out to be a pretty big project. This piece of furniture is well-constructed and quite heavy, especially when filled with my various sewing supplies and notions. While emptying the drawers, I noticed one of them is labeled "Widdicomb Modern Original" and I became curious.

I learned the Widdicomb Furniture Company started as a cabinet shop in Grand Rapids, MI in 1858 and had quite an interesting history. As best as I can tell, my dresser was most likely made in the 1950s. When I saw how much other Widdicomb furniture pieces sold for online, I began to have second thoughts about refinishing mine. But, since I had no plans of selling and it was more important to me that it looked good, I followed through with my refinishing plans.
As you can see, this dresser has seen better days. The surface - top, front and sides - were quite worn.


I purchased two sets of furniture moving pads because this dresser is quite heavy and has not been moved since its initial placement in 1999. I recognized that I would have to move this dresser from its position in the room so I could get access to all sides. This is what 16 years of dust looks like. YUCK!!! It almost goes without saying my allergies were quite active this day.
 |
| Before - oh, how embarrassing! |
 |
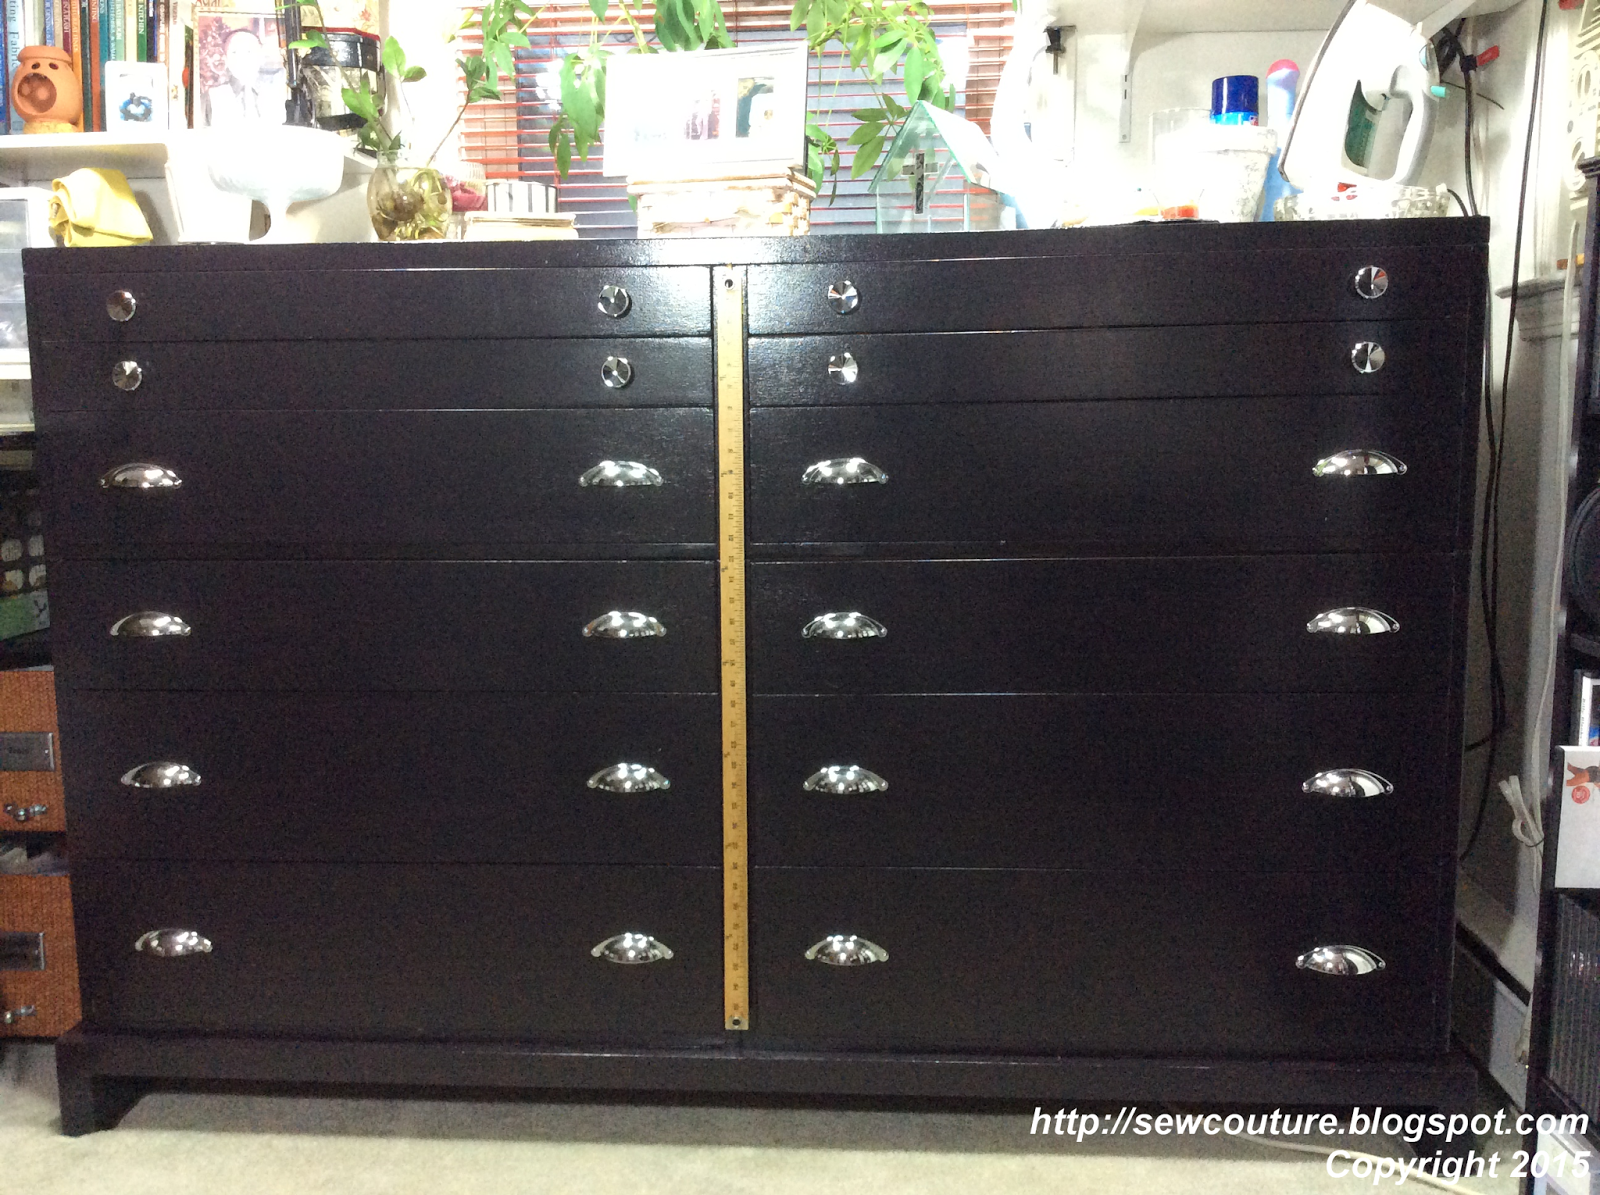
| After - not perfect, but much, much better!! |
With some of the existing drawer knobs being damaged, I bought replacements on clearance a couple of years ago at my local Lowe's store. The knobs fit perfectly, but the handles required new placement holes on 8 of the dresser fronts.
I used my orbital sander to remove the remaining finish and smooth out all of the dresser's surfaces, applied several coats of Valspar Signature Paint + Primer in New Black, sealed all of the surfaces with several coats of Rust-oleum Ultimate Polyurethane in High Gloss to protect the finish, and wrapped it all up with the new knobs and handles.


I left the furniture pads in place under each side of the dresser, should the need arise to move it again...like for cleaning!


What I especially love is that all of the furniture in my Sewing Room looks like they go together...no more make-do appearance of mismatched furnishings.
 |
| Sewing Table top... |
 |
| ...and base |
 |
| Project Table |
 |
| 1 of 2 video cabinets... |
 |
| Desk...although it's decorate a little differently now |
Thanks for stopping by, and don't forget to leave your comments below.
Aisha
Wow, you did a FABULOUS job on the dresser!!! It looks brand new and you're right, so very elegant! I had to laugh about the 16 year old dust, I could have been right there with you if we move my desk in the office. It's not been moved since it was installed in our workroom 17 years ago! Not in a hurry to do so either (not yet any way!) I love your touches in the "woman cave", everything makes you want to walk in and never leave!
ReplyDeleteThanks, Myra, for the kind words and the "dust support"...LOL...I had second thoughts about posting that picture but I thought "it is what it is". I LOVE being in my sewing space. There are a few more things I want to do, but it's really becoming a delightful space.
Delete