

I could immediately tell from its appearance that this sleeve board was well, well used and I knew it would require TLC to improve upon its look, as well as make me want to use it. At a price tag of $3.99, I determined that I was willing to invest the effort. So after snapping "before" pictures and taking note of its construction...


...I set about deconstructing it by removing the bolt and nails from its underside.


As I began removing the muslin covering, I found the "padding" deteriorating, leaving dust everywhere in its path.


I had to slip the top board in a plastic bag to minimize the mess as I removed the old pad stapled to the board's surface.
With the muslin and old padding removed, I cleaned up the lower and upper board panels.


I removed most of the padding dust from the old muslin, pressed it as flat as possible, and used it to make a pattern for the replacement board cover.


I then laid the upper board out on multiple layers of polyester batting, marked out the board's shape and cut the layers to sit atop the upper board.


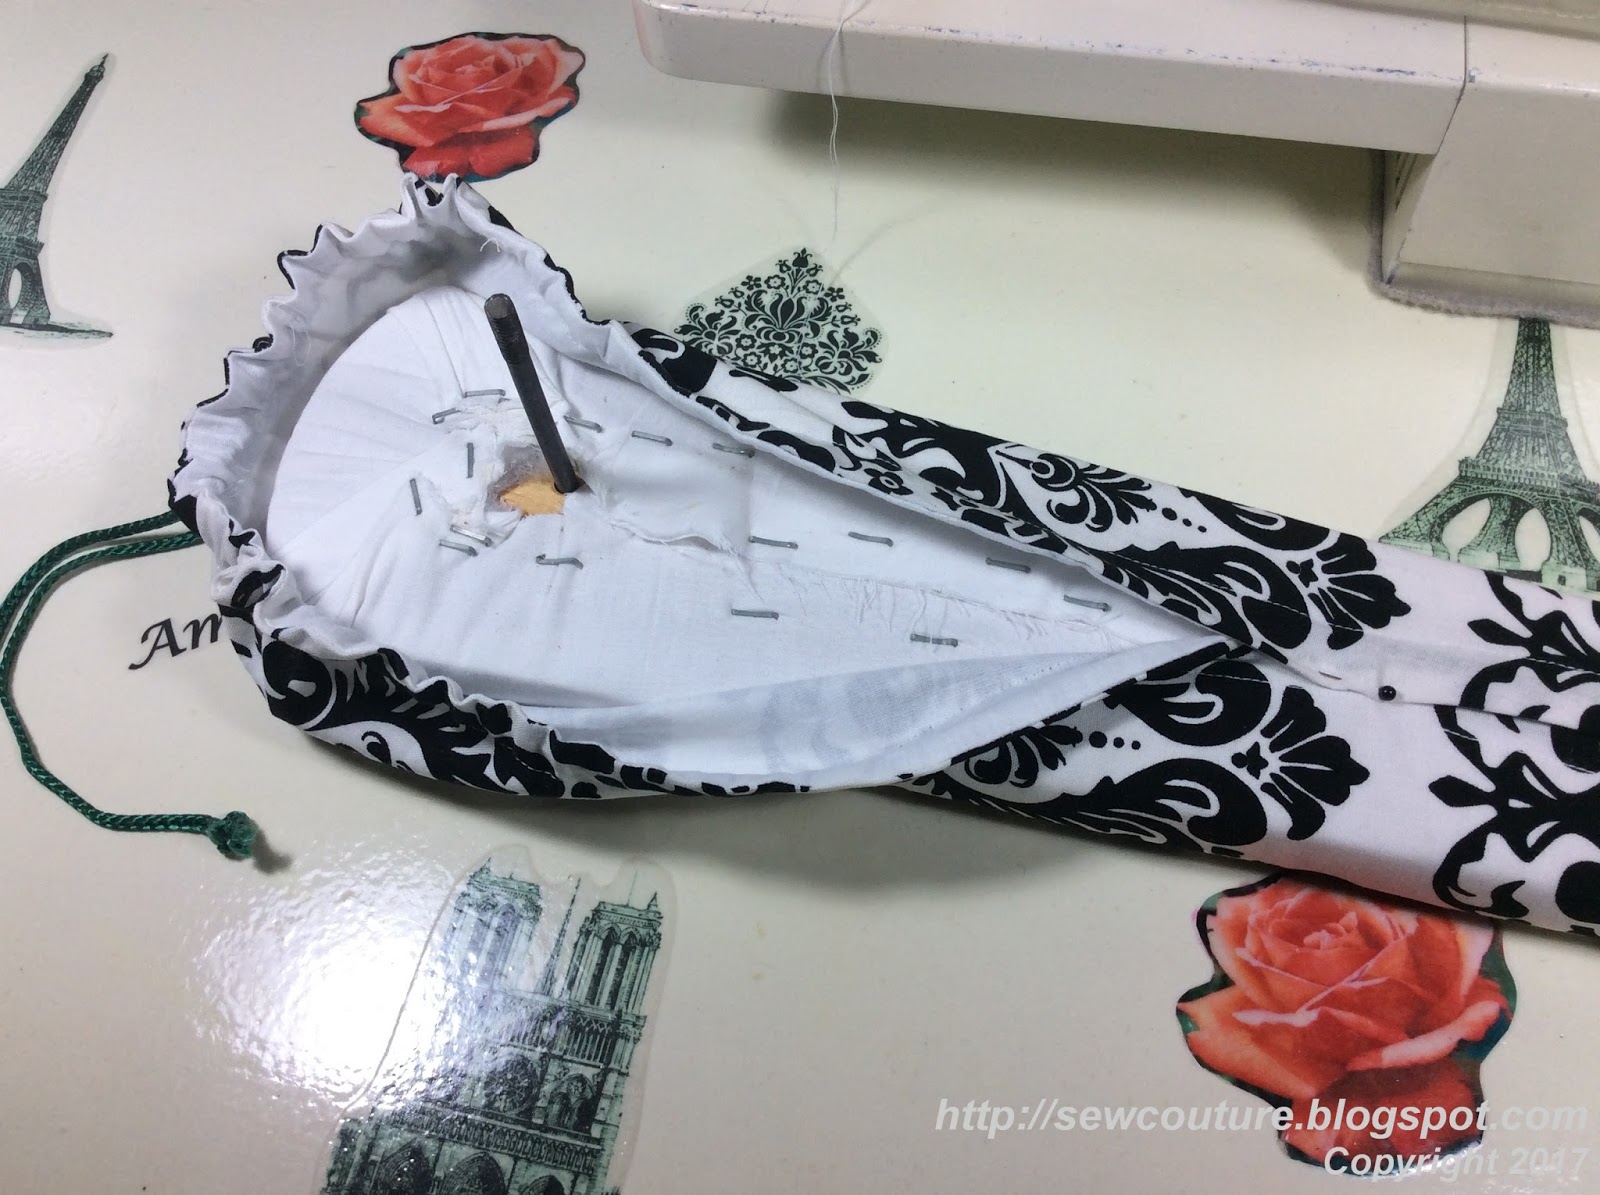
I wrapped one additional layer of poly batting and the new muslin cover over the board edges and stapled the excess fabric and batting on the underside, making certain to clear away fabric bulk around the screw bolt.


After making a removable decorator board cover to coordinate with my Sewing Room...

...I then turned my attention to the bottom board, which was quite weathered.


Instead of trying to "refinish" the wood of the bottom board, I took a queue from the decorator cover and other furnishing in my Sewing Room and decided to paint it black and protect it with layers of polyurethane.


Once dry, I reassembled all pieces, replacing nails with screws in the event I ever have to disassemble again.


I used long needles to line up the bottom board with the middle wood piece connecting both panes.


I decided to add felt furniture pads to the bottom board's underside.


I covered the top board with the decorator cover, pinning away the slack on the underside to make the top more taut and fitted.


And, here's the finished project!

I think it looks great, is a perfect complement to my Sewing Room and existing ironing board, and best of all...

...fits easily inside my Sewing Room's dresser drawer when not in use. #WINNING

Be blessed!
Aisha
It's gorgeous!
ReplyDeleteThank you, Clotelle!
ReplyDeletePlease don't be offended by me asking, but where are you???
ReplyDeleteDear, sweet Faye, I could never be offended by your expressions of caring and concern. I am so good; I've just been busy living life, but I am going to begin blogging again. Thank you so much for reaching out!
Delete