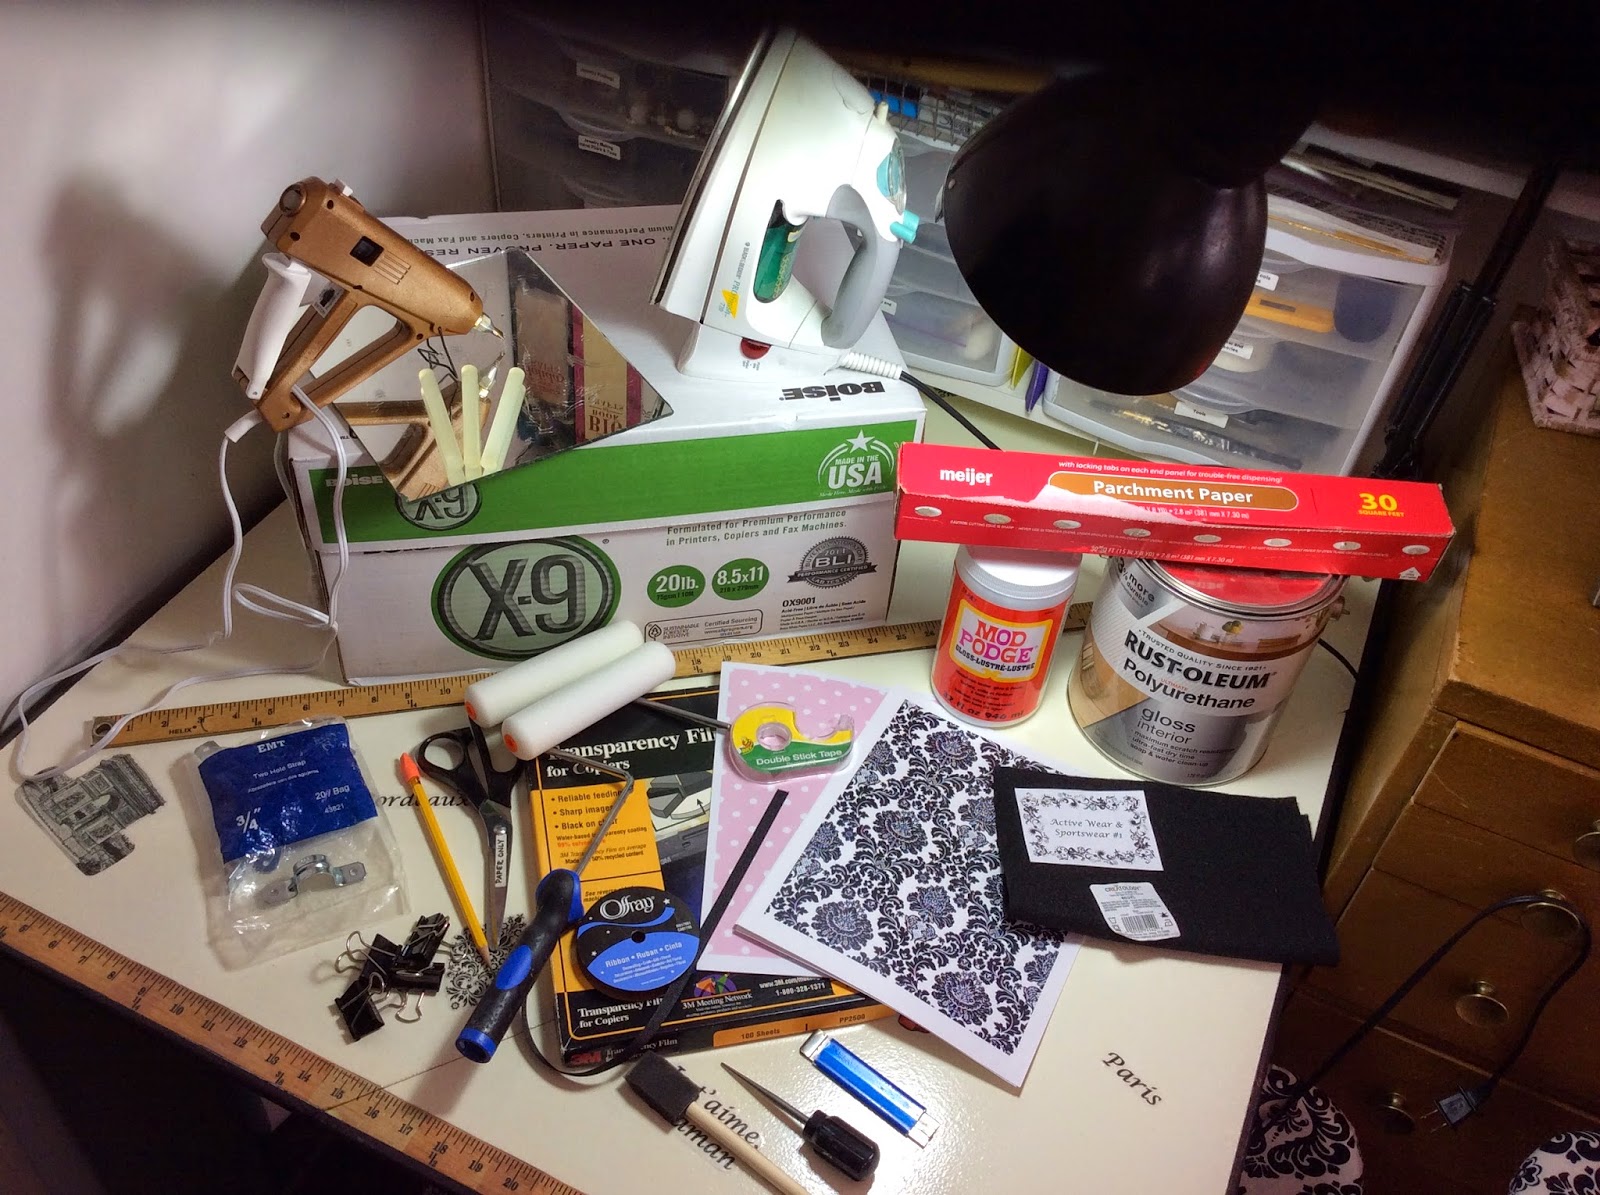
The tools and supplies you'll need are:
- Supply of 8 1/2 x 11-inch copier paper
- Computer and printer
- Craft glue (I recommend Mod Podge brand)
- Paint roller handle
- Foam paint roller head
- Paint pan (or disposable plate or container)
- Scissors
- Parchment paper (found in your grocer's aluminum and plastic food wrap aisle)
- Iron
- Padded ironing board
I shared with you on my Pattern Storage Nirvana post that I used fabric from my stash to cover my first recycled box. While it looked nice, I didn't feel the costs associated with purchasing more fabric for this project was worth the investment. That's when I chose to adopt paper instead and rely on a form of decoupage.
For the carton lid, I found a damask print pattern online that I liked, copied and pasted it to a Word document, overlapping the image multiple times to match the pattern repeat. I scaled the final design collage so I could easily align each printed sheet to form a complete pattern repeat. For the carton base, I created my own dotted design in Word, again setting it up so I could get a complete pattern repeat. Once satisfied with the design, color and scale, I printed enough pages to cover each panel of the I disassembled carton - 6 sheets for the lid and 10 sheets for the base.


As you may know, decoupage involves pasting paper images on a surface and applying layers of glue on top to seal and smooth out the edges. I own an Ink Jet printer and I've found my printed pages didn't react well with craft glue, which is water-based. The designs would become distorted and the colors bled horribly, so I had to find a way to protect the printed images so they could be glued to the carton surfaces. I've found, through trial-and-error, the best option was to apply a layer of Mod Podge to the printed image's surface with a foam roller brush. The color may bleed slightly, but it was minimized by quickly applying the glue to the paper surface with as few strokes as possible.
 |
| before glue sealing |
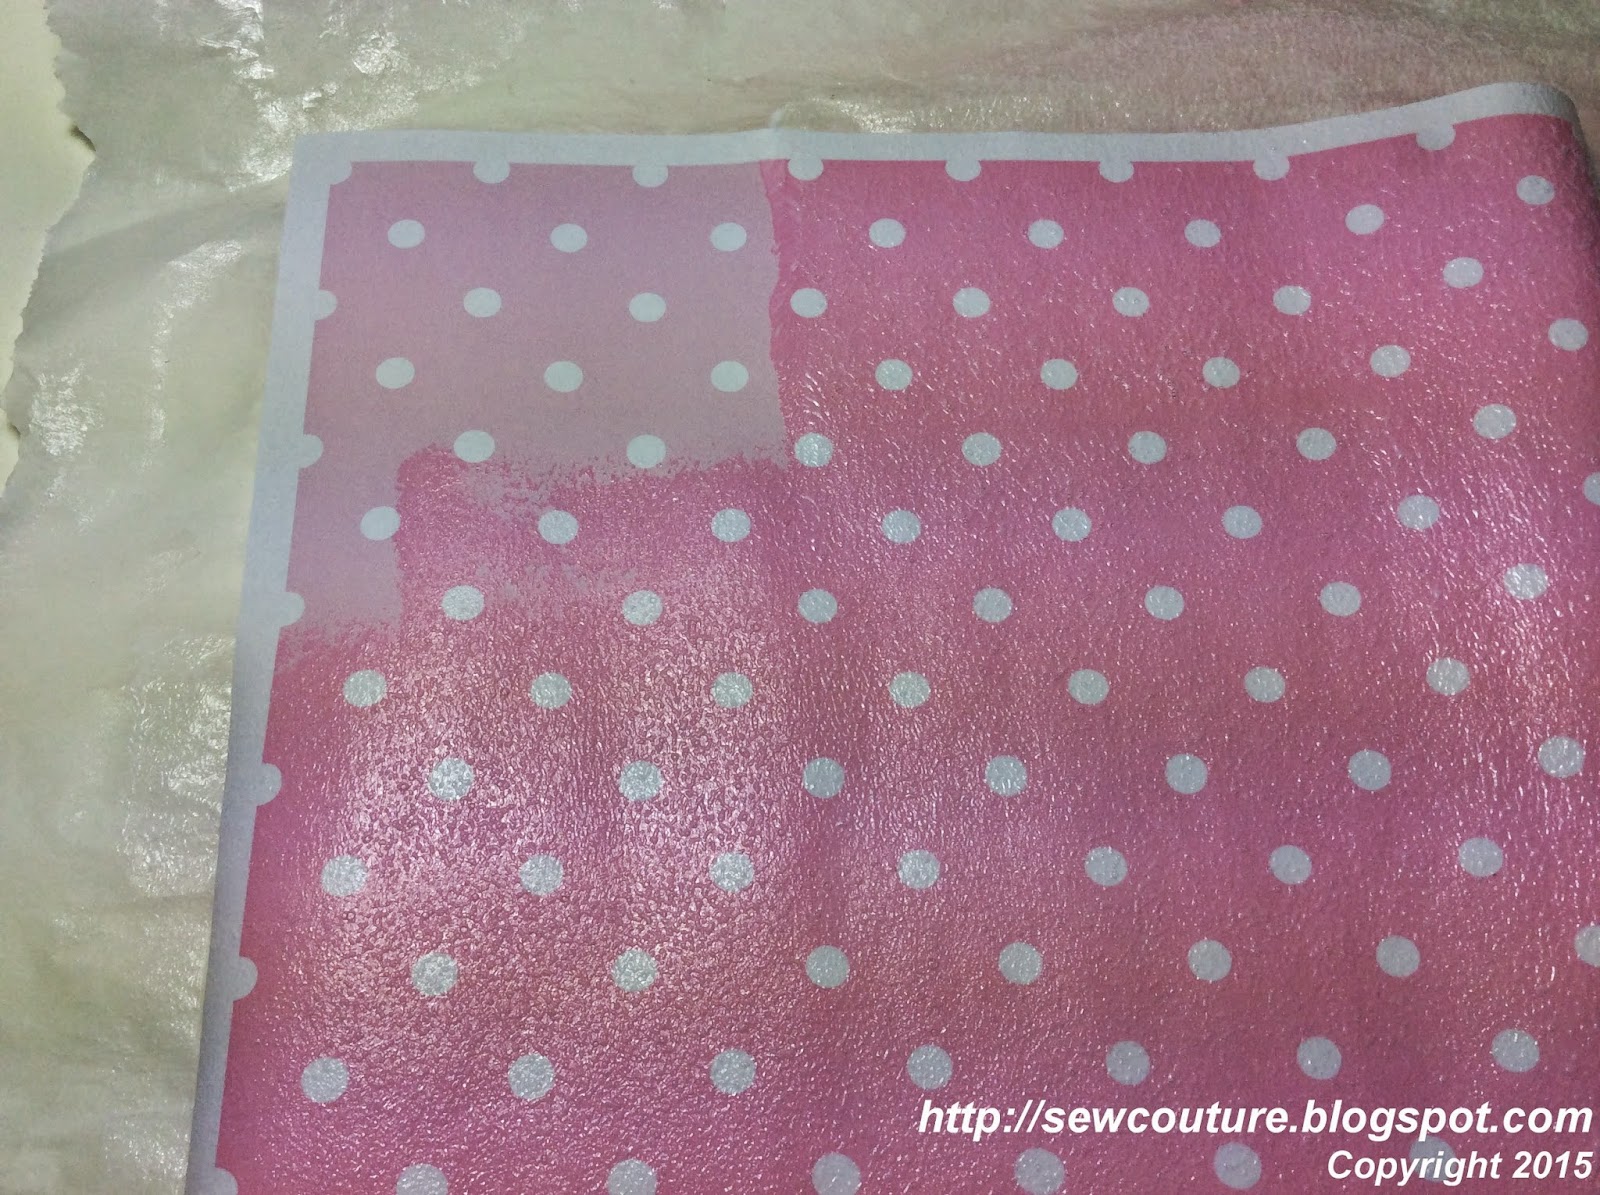 |
| as glue is being applied |
Take note that the printed images become much darker once the glue is applied to its surface. Keep this in mind as you prepare your decorator pages and adjust the image’s color with your computer application so you’ll end up with the desire intensity. Also, try to avoid forming wrinkles on your paper’s surface with your roller.
Set each page aside on a dry, flat surface and make certain they're not in contact with another page. Allow each image to dry completely. Your decorative papers will curl as they dry – do not be alarmed. You will be able to smooth out each page.

After drying, examine your pages to identify the design repeat so you’re able to overlap and match each page up for a continuous pattern. For my carton base, I trimmed off the left margin on 3 pages so I could overlap and match the dotted design into a continuous pattern.


Once you’ve identified where your pages will overlap, sandwich the two separate papers between two sheets of parchment paper on your ironing board and quickly press each paper surface to warm up the edges you plan to glue together. This step makes the page edges “tacky” so you can temporarily adhere them together until you permanently fuse them. Realign the edges as needed until you’re satisfied with its placement.

Sandwich the tacked page edges between parchment papers again and fuse together using your iron. Do not move your iron over the parchment surface as this could cause your page edges to shift. Instead, lower and lift your iron down the length of the page edges until the entire seam line is fused. Repeat this process until you have enough pages fused together to cover each panel of your carton’s base.

For my boxes, I used 4 pages for each base side and 1 page for each base end.

I follow the same process for the carton lid; the page overlap alignments, however, are different.
I only need 6 pages for each box lid.
Now that the decorative papers are aligned and fused together, we can move on to gluing them to the carton surfaces.
Be blessed!
Aisha
 |
| color comparison |
Set each page aside on a dry, flat surface and make certain they're not in contact with another page. Allow each image to dry completely. Your decorative papers will curl as they dry – do not be alarmed. You will be able to smooth out each page.
After drying, examine your pages to identify the design repeat so you’re able to overlap and match each page up for a continuous pattern. For my carton base, I trimmed off the left margin on 3 pages so I could overlap and match the dotted design into a continuous pattern.
Once you’ve identified where your pages will overlap, sandwich the two separate papers between two sheets of parchment paper on your ironing board and quickly press each paper surface to warm up the edges you plan to glue together. This step makes the page edges “tacky” so you can temporarily adhere them together until you permanently fuse them. Realign the edges as needed until you’re satisfied with its placement.
Sandwich the tacked page edges between parchment papers again and fuse together using your iron. Do not move your iron over the parchment surface as this could cause your page edges to shift. Instead, lower and lift your iron down the length of the page edges until the entire seam line is fused. Repeat this process until you have enough pages fused together to cover each panel of your carton’s base.
For my boxes, I used 4 pages for each base side and 1 page for each base end.
I follow the same process for the carton lid; the page overlap alignments, however, are different.
 |
| I trimmed off the left margin on 3 sheets |
 |
| identify and match up the pattern repeat |
 |
| 2 pages fused together |
 |
| 3-sets of fused pages, side by side |
 |
| 3-sets fused to make one print large enough to cover lid |
Now that the decorative papers are aligned and fused together, we can move on to gluing them to the carton surfaces.
NOTE - This is the process I followed, but I see no reason why you couldn't substitute other paper
options for the copier papers, computer and printer listed above. For
example, gift wrap or scrap booking papers could probably be used to
decorate your storage boxes to match your room's decor. I chose to use
what I had on-hand to save time and keep my costs low.
If you choose another paper option, please share your process and results with me. I would absolutely love to see how well everything works for you!
If you choose another paper option, please share your process and results with me. I would absolutely love to see how well everything works for you!
Be blessed!
Aisha
No comments:
Post a Comment